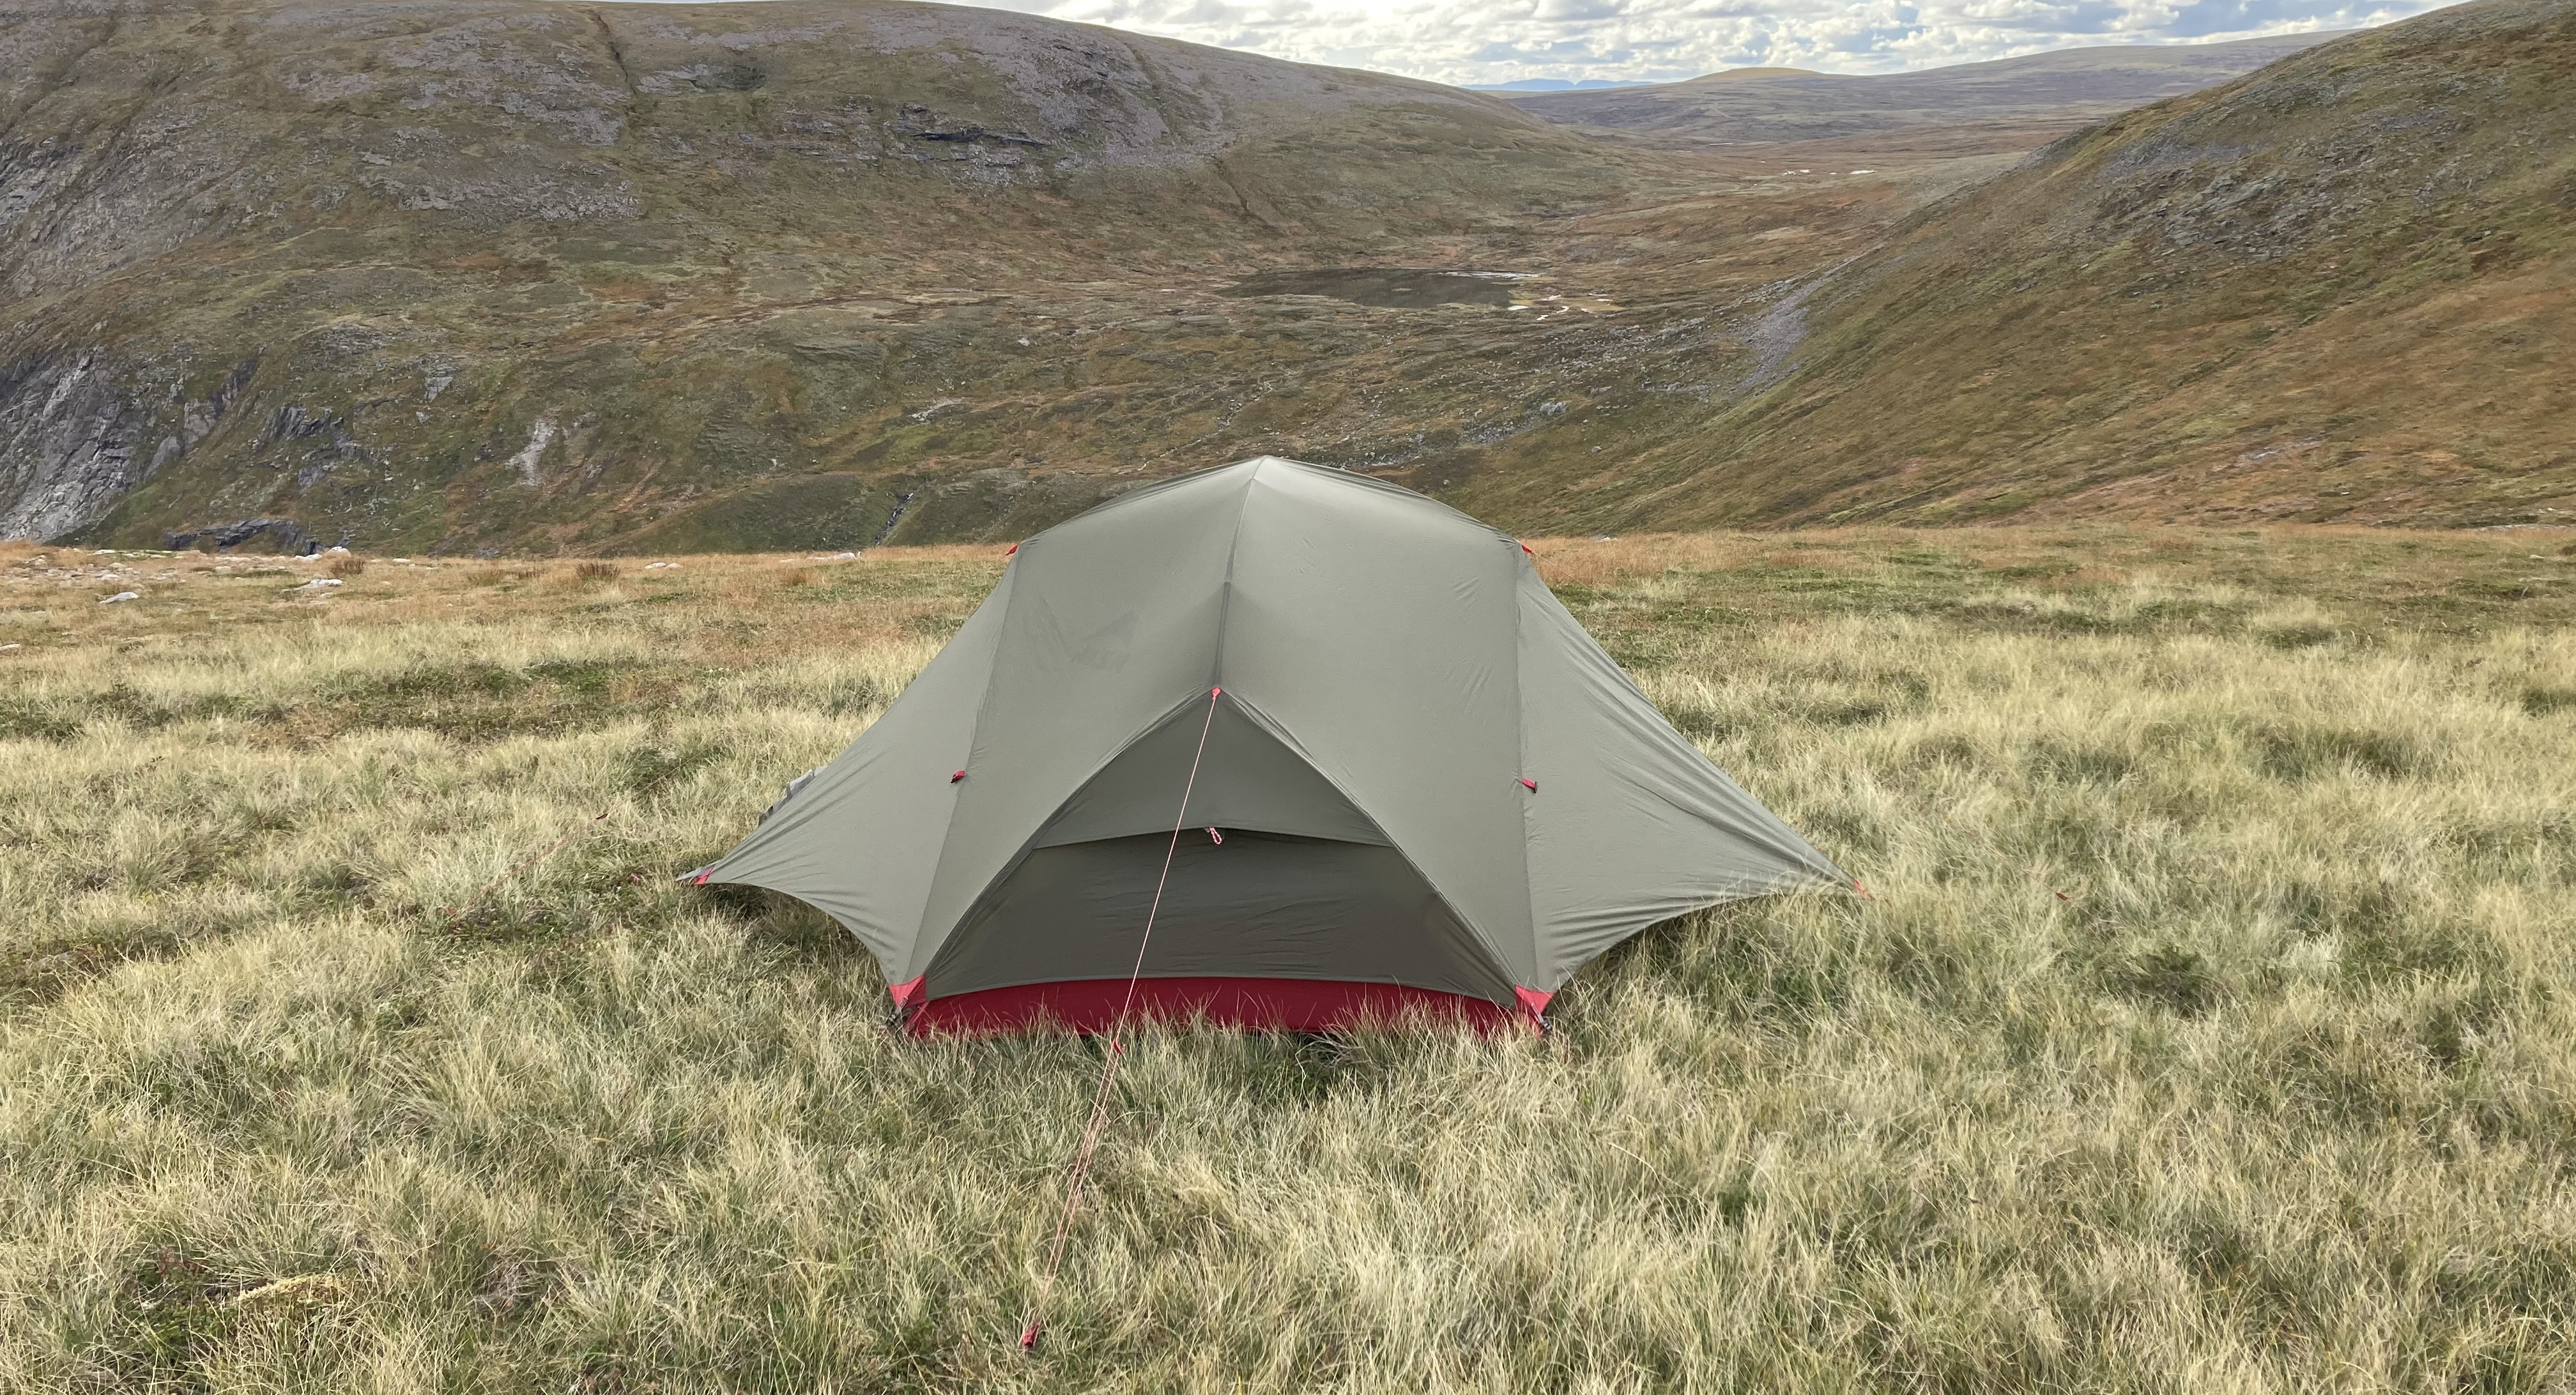
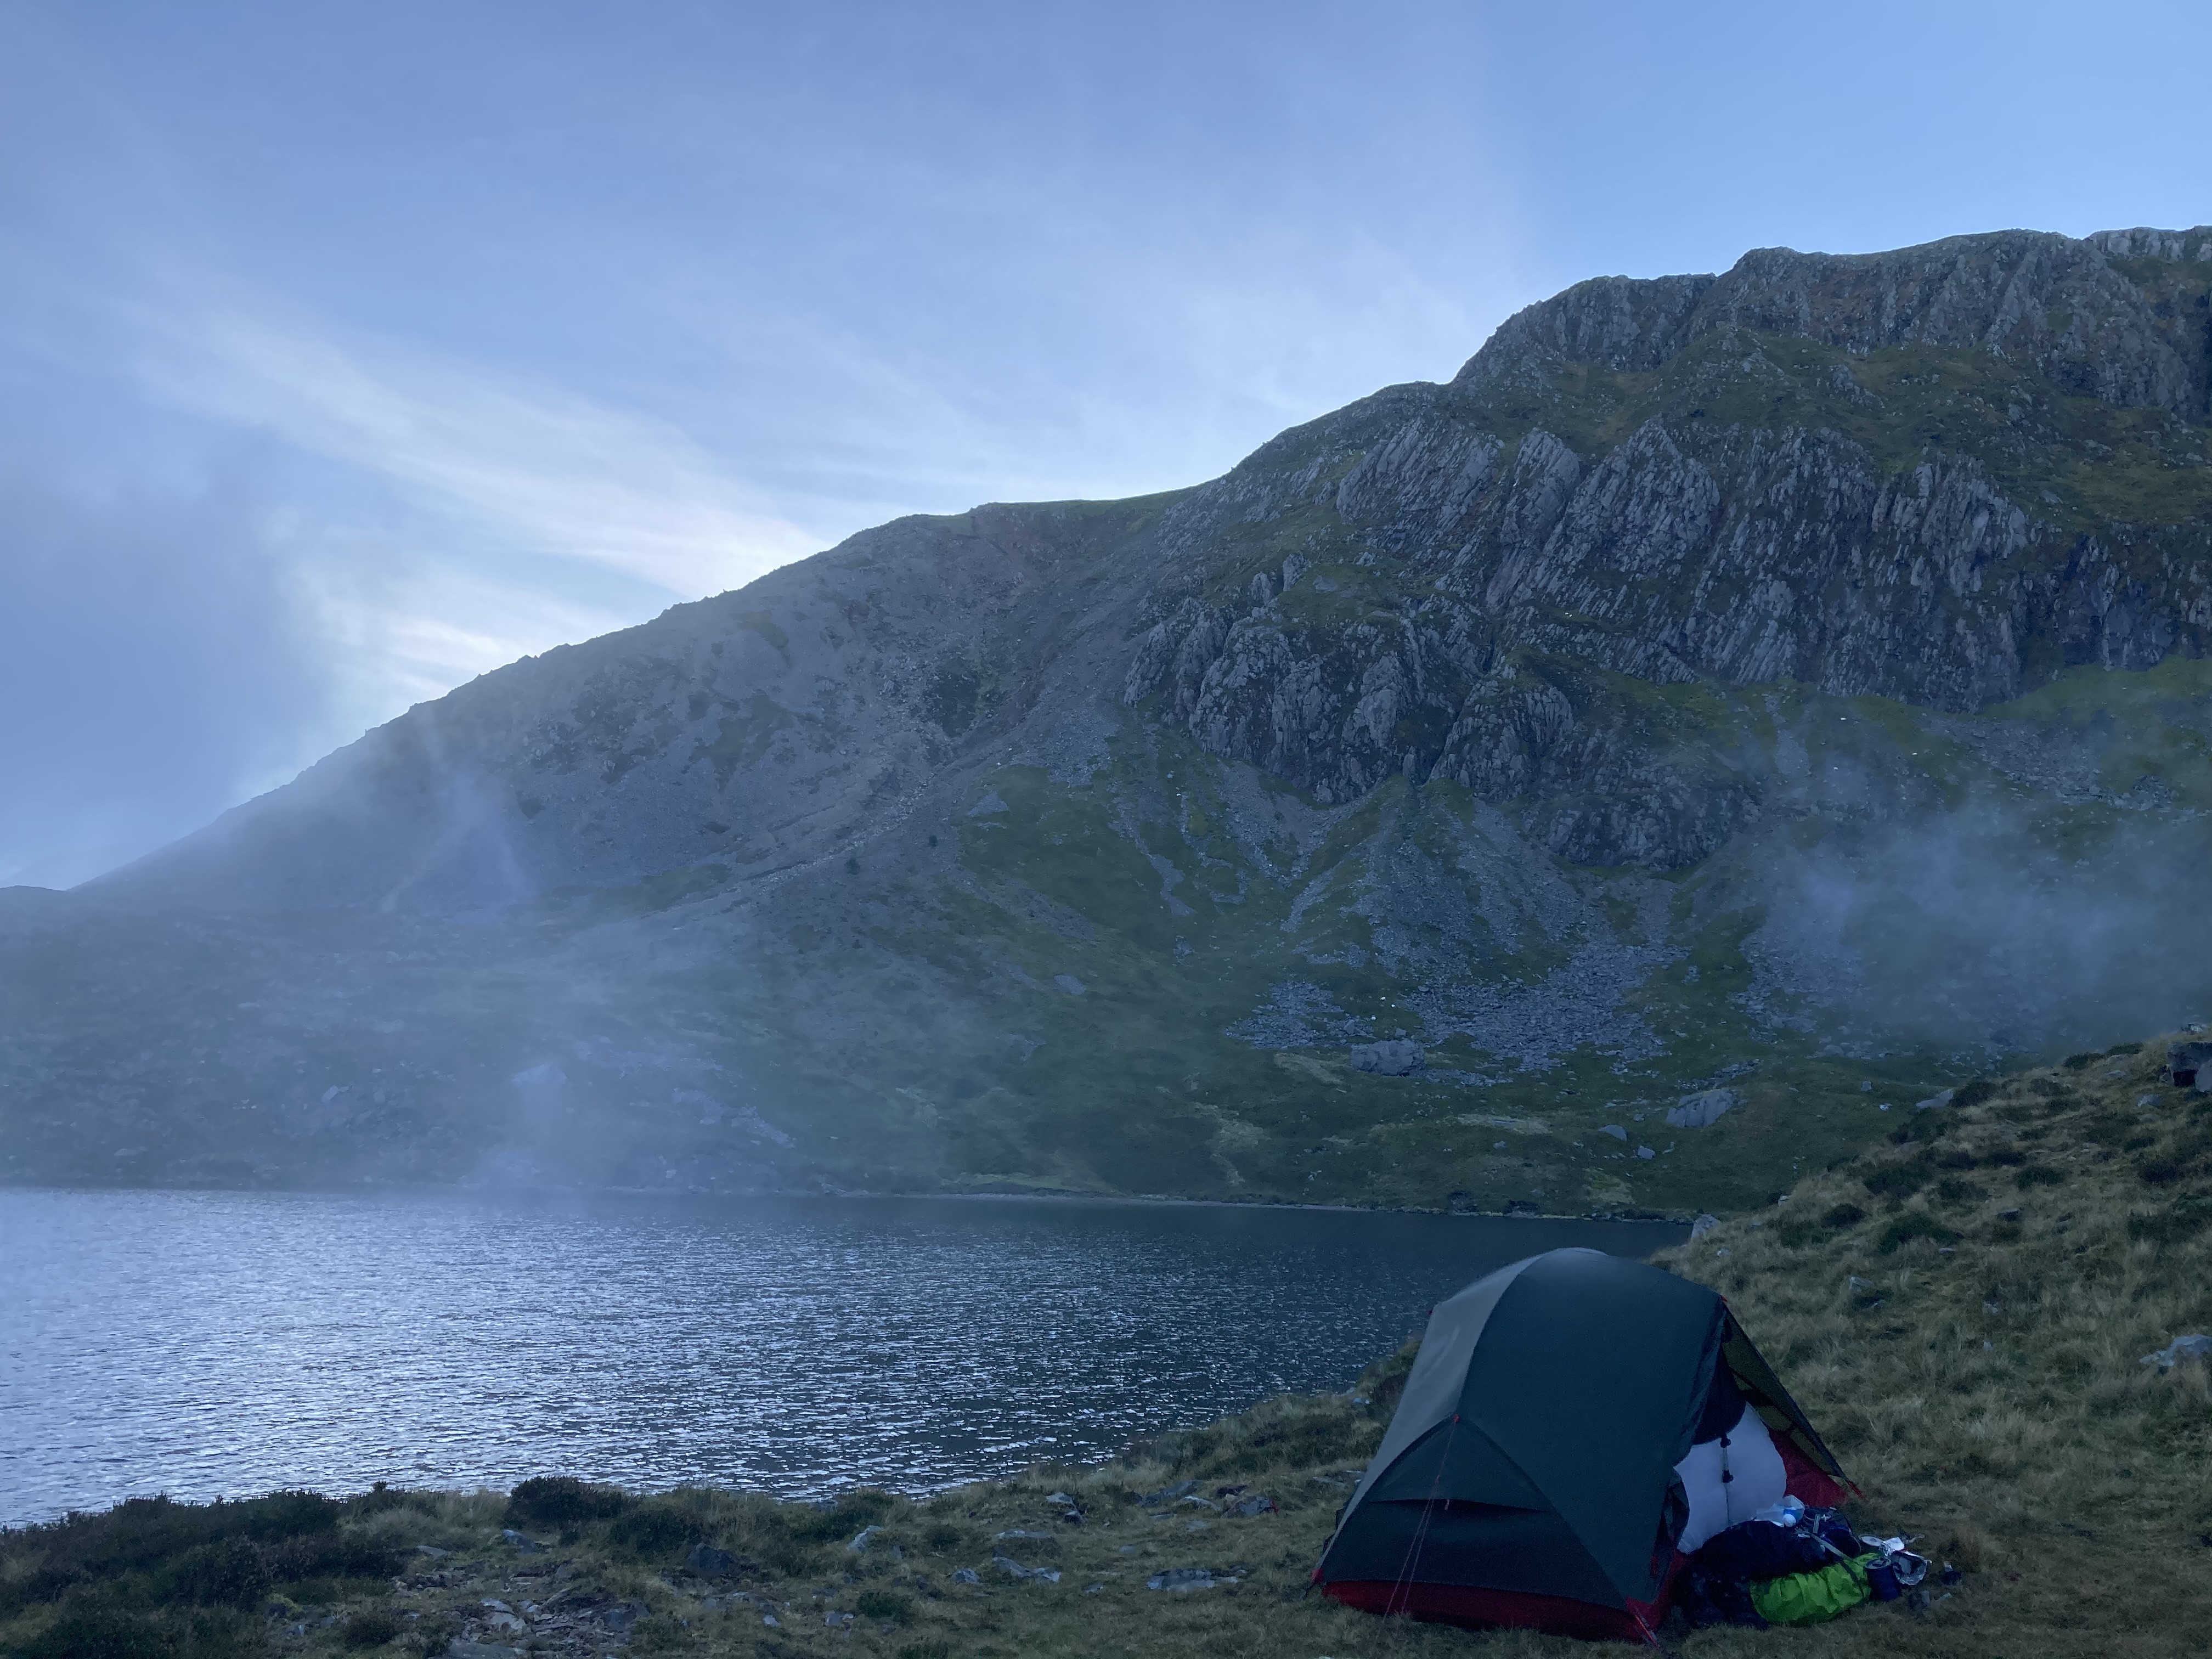
The Hubba Hubba was my first backpacking tent. I used it on multiple trips, mostly in Norway and Scotland, and always in bad weather. Usually I was alone, and only shared it with another person for a couple of nights.
Here I am talking about the 2018 version.
Specs
Let’s get the basic details out of the way. These are just the highlights, I am sure you have a store page loaded in another tab.
- Stated packed weight: 1.72 kg (3lbs 13oz)
- On my scales: 1.8kg (3lbs 15oz)
- When wet: >2kg (>4lbs)
- 2 person
- 3 season
- Free standing
- Single pole hub system
- Packed Size: 15 x 45 cm (6 x 18 inches)
- Floor Dimensions: 213 x 127 cm (84 x 50 inches)
Hot take
- Ultralight? Only just.
- Set up time? 5-10 mins.
- Set up ease? Straightforward.
- Can be set up/taken down fly first? Yes, with some fiddling.
- Ventilation/Condensation? Very good.
- Packability? Not too bulky. Can fit horizontally in 60L or 50L packs.
- Easy to get back into stuff-sack? Yes.
- Wind performance? Great with mods, less-so without.
- Rain performance? Excellent.
- Snow performance? Not tested. Likely not good.
- Fits 2 wide pads? Just.
- 2 people can sit up/live comfortably? Yes.
- Vestibules? 2. Good size.
- Would recommend? Yes, for occasional backpackers, not for thru-hikers or the weight-conscious. BUT there are cheaper and lighter (otherwise identical) options out there.
Tell me more…
What I like
-
The internal space is really fantastic. MSR is known for this with the Hubba line of tents. Many copy-cats have since followed this cross-pole design and it really does make a difference to the liveabilty of the tent. When you are in there by yourself it feels truly massive.
-
The partially solid inner wall makes a huge difference to the internal temperature of the tent. It also helps to keep draughts out and condensation off. The inner is not fully solid (it is not a 4-season tent), so there is still a lot of mesh to aid in ventilation, but the few solid panels make it feel less breezy.
-
The gear pockets at either end are very generously sized.
-
The fly doors zip from the bottom corners of the body, meaning you don’t have to lean awkwardly out to the edge of the vestibule to get them open. They are also cleverly designed to keep rain from dripping inside the tent body.
-
There is colour coded webbing at the grommet corners of the body and fly so you know which way round you should be pitching the two so that they line up properly.
-
The big vents and high fly mean that condensation is very easy to manage. There will always be some, but there are enough ventilation opportunities to keep it at a minimum.
-
The excellent weatherproofing in general. On one trip (in Scotland, naturally) there was 72 hours of continuous rain. I set up my tent in the rain and packed it away wet for 3 days in a row. I was safe and dry every night. Even when a river I was camped near began to burst its banks, the bathtub kept me well protected and I was able to pack up fairly unhurried.
-
The tent is very easy to set up thanks to the intuitive pole system and clip on inner, which again is something I believe MSR pioneered and every other brand then copied.
What I don’t
-
The weight. I think it is cheeky that MSR brands this as an ultralight tent. Don’t get me wrong, I think it is a great tent which suits many types of campers, but to market it as ultralight is misleading to those who are new to the practice and are going with a known brand out of (misplaced) trust. Even if the tent did weigh the stated 1.7kg (it doesn’t), in my book that is not ultralight. MSR also advertise that you can leave the inner tent at home and just use the fly for a minimum “trail-weight” of 1.3kg. Taking half a shelter for a lot more weight than even the cheapest true ultralight shelters feels like… such a con to me. If someone is experienced enough to sleep under what is basically a structured tarp, then it makes more sense for them to just take a tarp for nearly half the weight (and cost). If you are 2 people using this and are splitting the weight, 900 grams each is not terrible, but it’s not great either.
-
The wind performance of the Hubba Hubba could be better. The problem is with the positioning of the guylines and just the general design of the tent. There are 4 guys in total. A line on each apex seam of the centre cross beam, and further lines on each end of the centre seam, just above the vents at the point where the corner seams come up to intersect it. The downside to having fabulous internal volume is that you end up with all these vertical walls. Vertical walls do not shed wind well. The vertical walls on the longer sides of the tent are offset by the sloping vestibules. These funnel the wind upwards rather than catching it. The guys at the top are well placed at a good height along those seams, which makes the tent handle broadside winds fairly well. The walls at the shorter ends are left completely vertical at the bottom half. The guys are also placed too low to add any significant resistance to the wind hitting that completely flat surface. This is a problem, since any camper worth their salt knows to pitch their tent with the narrowest and lowest end facing the wind. Thus in very strong wind (40mph+) the Hubba Hubba bows almost completely down the ground along that centre line. To be fair, most people will not be going out in those conditions. And to MSR’s credit, the poles did bounce back very well on those nights that I was being sandwiched between the tent and the ground. There is a way to mod the tent to stop this problem, which I will talk about below.

Tips and Mods
Dealing with wind
It was on one wild night at the end of the Lairag Ghru in the Cairngorms that I realised that the Hubba Hubba needs a bit of help in the wind.
You can read that excerpt to learn about my hack, but the TLDR is: trekking poles. If you carry trekking poles you can wedge them (pointy end down) between the ground and the ends of the apex crossbeam. After I discovered this I started doing it every time I went out, and it really does help the tent stand firm in winds. The poles do occasionally become unseated, so once in a while you may need to move them back into place.
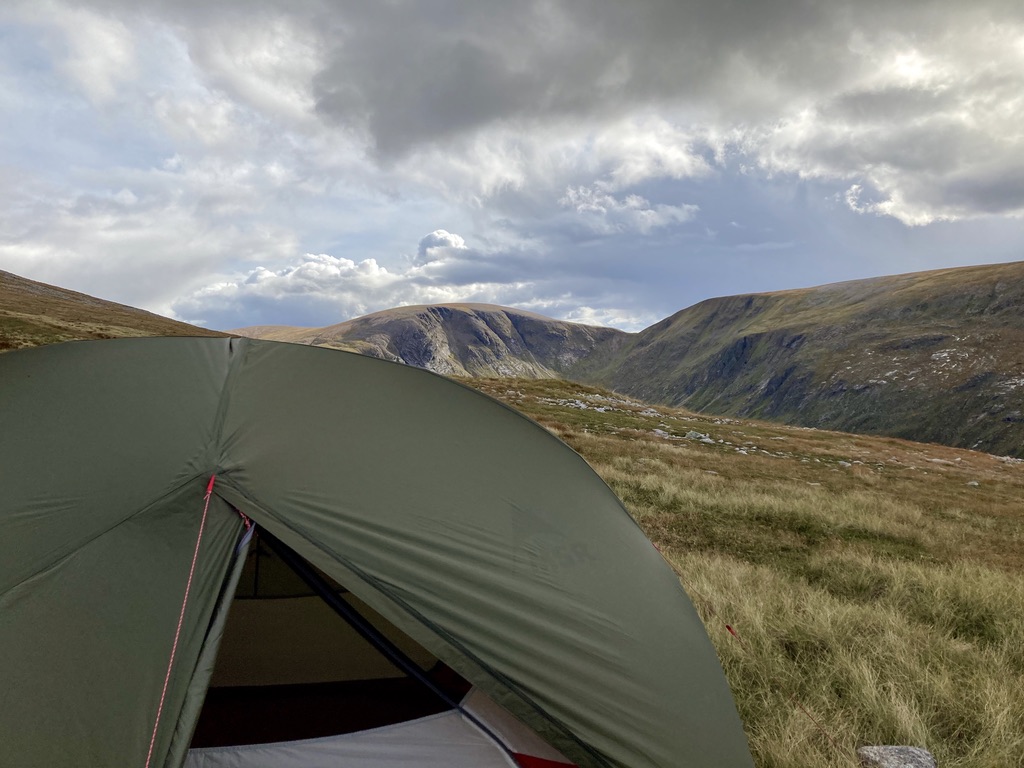
I did not think to take a clear picture or video of this before I sold my tent, but in the below picture you can just see my trekking pole in front of the white panel of the inner (grey line with black nodules). You might be able to see by the inner material billowing around the pole that it is quite windy, but the tent is solid.

Pitching fly first
In a dry weather setup, you’ll put out the body, insert the poles into each corner grommet, clip the body to the poles, throw the fly over, stake out, etc etc. But this is not ideal in the rain, unless you are really really quick and there is no wind getting in your way.
In the rain you’ll want to get the fly up first, then attach the inner while keeping it completely dry. This is technically possible, but involves some fiddling and the use of the ground sheet which MSR sells as an extra. You can also set up/take down the inner from inside the fly if you are determined to not go out and have some decent flexibility.
Here’s what I do:
- Lay out the ground sheet, stake out the corners (very important in wind!)
- Assemble the poles
- Insert the poles into the grommets of the ground sheet
- Put the fly over the poles. Take care to make sure the crossbeam pole is inserted into the grommets inside the fly at the top of the vestibule doors.
- Attach the fly grommets to the poles
- Readjust any existing stakes, add some more, put out the guys if necessary
- Get inside the fly
- Lay out the body, ensure the doors are opening the correct way, push the grommets to the corners
- Either a) get back outside the tent, and attach the inner grommets to the poles, Or b) stay inside the tent, and attach the inner grommets to the poles (this involves some undignified wriggling around but it is doable).
- Remove any wet gear
- Unzip one of the inner doors and sit inside the inner in the centre of the tent
- Clip the inner to the poles
To take down in the wet, simply do the reverse.
This method takes a lot longer, but does keep the inside dry.
Conclusion
The Hubba Hubba is a quality tent and it is easy to see why it often makes various “Top Ten” lists. That said, more experienced campers will likely want to trust their own knowledge over a recognisable brand. For those just starting out or those who want a bit of luxury on the trail, it is a great option. I do not regret choosing this tent when I was new to the outdoors.
Price- and weight- wise, there are cheaper and lighter, but no less performant, options out there. The Big Agnes Copper Spur is a similar style which is aimed at the casual or beginner backpacker who is likely to feel more comfortable going for well-known brands.
But if you’d like to make the jump into Ultralight minimalism, you could check out the Lanshan 2 trekking pole tent.
I hope this concise review is helpful, if you have any questions please feel free to send me an email!
